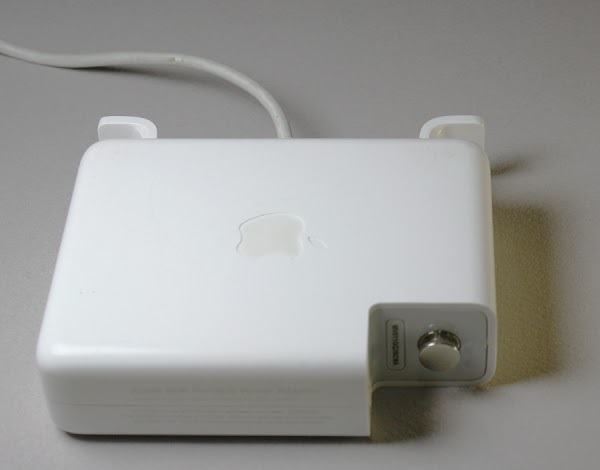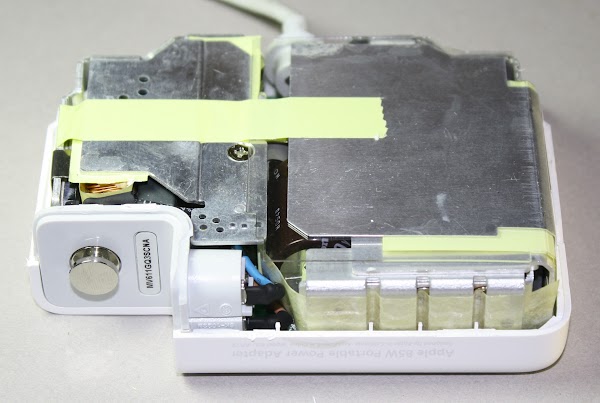
Strange as it seems, the best technique I’ve found for opening a charger is to pound on a wood chisel all around the seam to crack it open. With the case opened, the metal heat sinks of the charger are visible. The heat sinks help cool the high-power semiconductors inside the charger.
The other side of the charger shows the circuit board, with the power output at the bottom. Some of the tiny components are visible, but most of the circuitry is covered by the metal heat sink, held in place by yellow insulating tape.
After removing the metal heat sinks, the components of the charger are visible. These metal pieces give the charger a substantial heft, more than you’d expect from a small unit.
The diagram below labels the main components of the charger.
AC power enters the charger and is converted to DC.
The PFC circuit (Power Factor Correction) improves efficiency by ensuring the load on the AC line is steady. The primary chops up the high-voltage DC from the PFC circuit and feeds it into the transformer. Finally, the secondary receives low-voltage power from the transformer and outputs smooth DC to the laptop.
The next few sections discuss these circuits in more detail, so follow along with the diagram below.


