
In 2014 we purchased a HACKRF One SDR radio and quickly found that the receiver was being swamped with local interference from nearby transmitters and other equipment. We installed the optional HACKRF EMI Shield which helped to remove some of the interference but we still found that external noise was being received.
After looking for a suitable metal case to screen the entire board we found a post on The Grymoire blog which explained how to use a Hammond 1455J1201 case to shield the SDR radio.
The Hammond case was ordered from Farnell in the UK for £8.82.
 |
 |
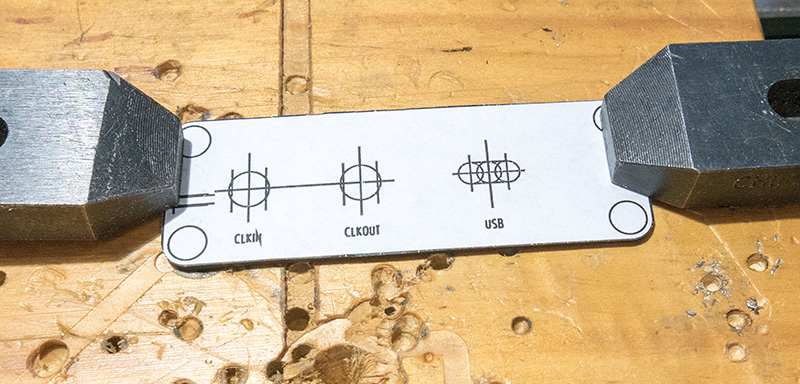 |
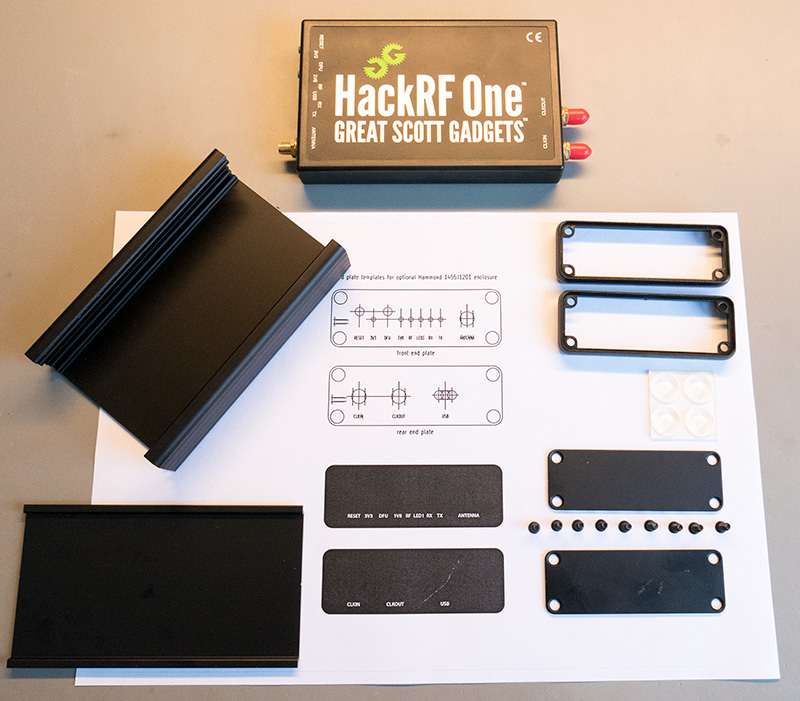
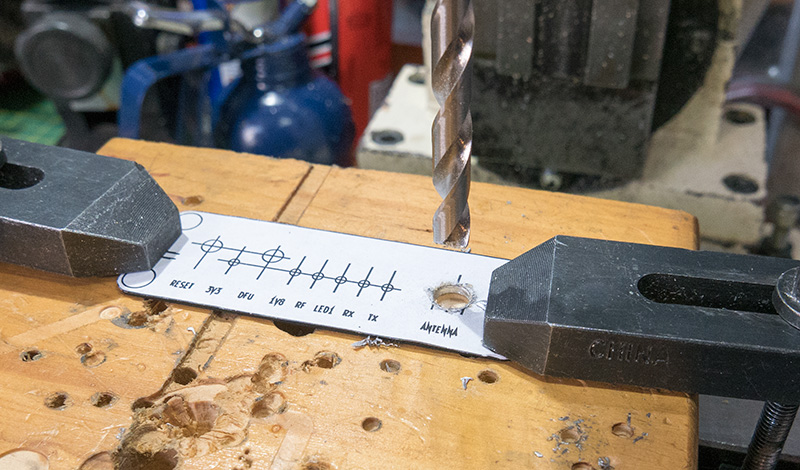
| Case parts and template | Front panel ready for drilling | Rear panel ready for drilling |
A template for the case ends was available online from Stefano Probst who had provided the file in SVG format. We loaded the file into Adobe Illustrator and reformatted the layout so it would print at the correct size and we also made a black sticker for each end with the labels in white text to go onto the finished case which is available to download in PDF format.
We printed the template onto a A4 sheet of self-adhesive label paper and cut out the drill guides and fitted them onto the metal end plates from the case.
 |
 |
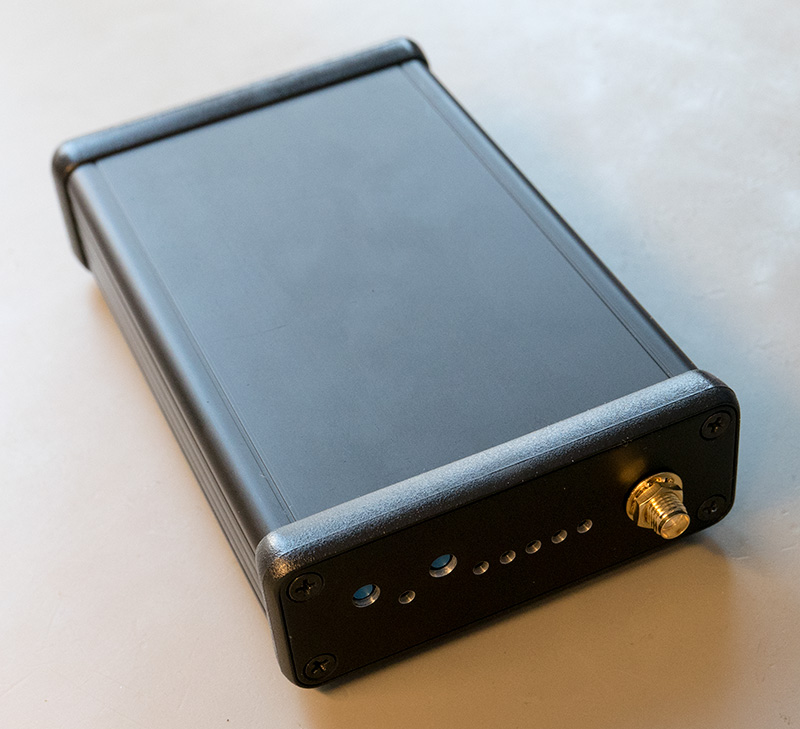 |
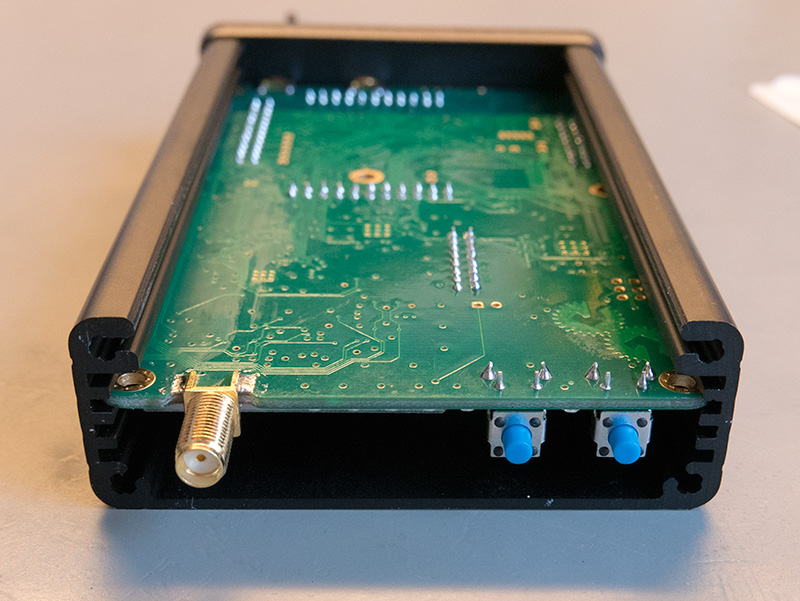
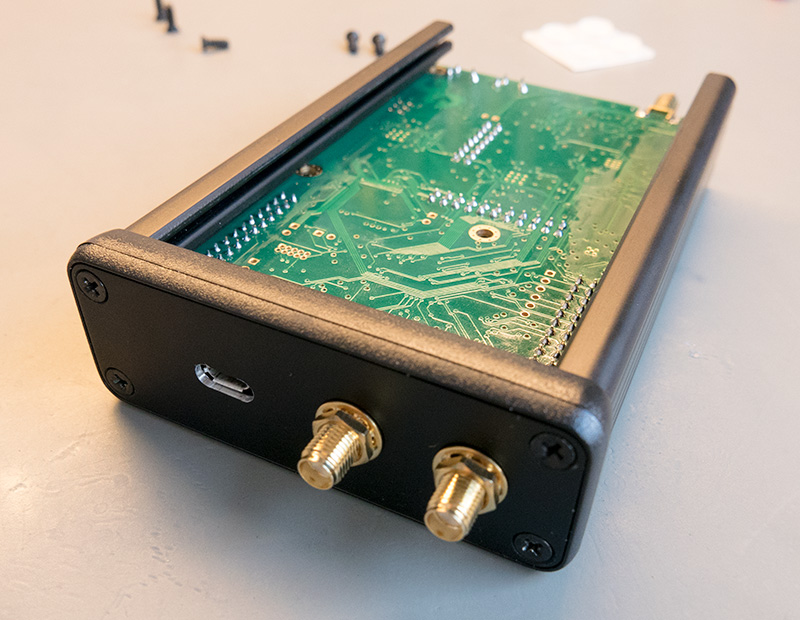
| PCB fitted into the case | Back panel with USB socket fitted | Completed Case |
Each end plate was then fitted into our CNC mill and using the manual controls we pre drilled each hole with a centre drill then drilled each of the larger sizes. The drills we used were 2mm for the small LED holes, 4.5mm for the reset buttons and 6.5mm for the SMA connectors. We used a 4mm end mill to make the slot for the USB socket.
After drilling the end plates, we had to clean the holes with a deburring tool and removed the sticky labels and cleaned off the adhesive residue with a solvent clearer.
The HackRF circuit board was then removed from its plastic case and slid into the rails on the new Hammond case. We had to hold the edges of the case apart as the PCB was a very tight fit into the case.
Each of the drilled end plates was then fitted to the case and the RF connectors fitted using the original nuts and washers.
When the case was fully assembled we connected the radio back onto our computer and found that the overall noise floor on the waterfall view on the SDR software was lower than before and the signal noise seems to be better with the fully shielded case.
The links below show the screen shots of the SDR software before and after fitting the case.


