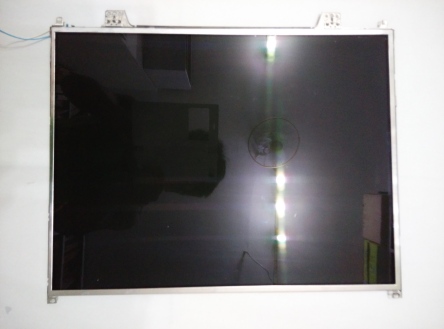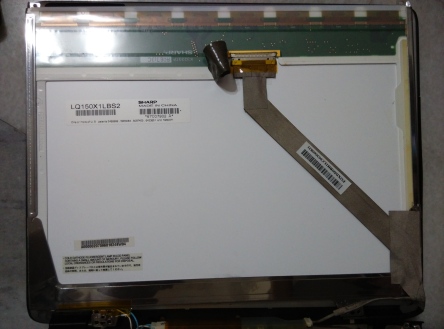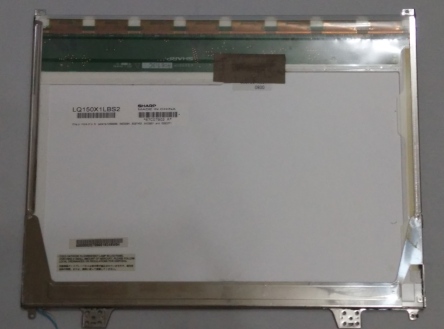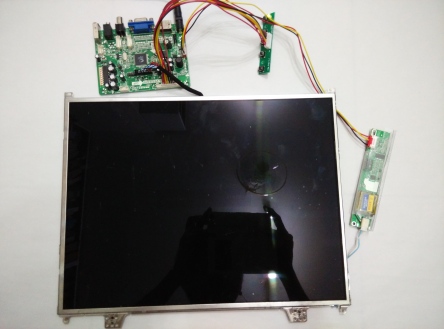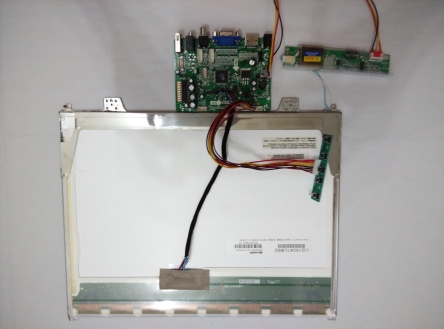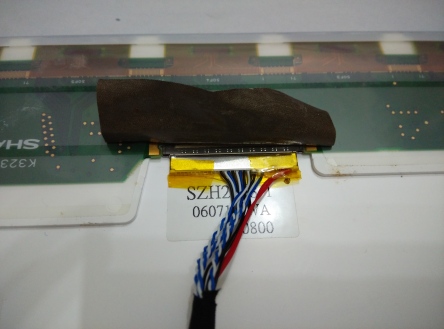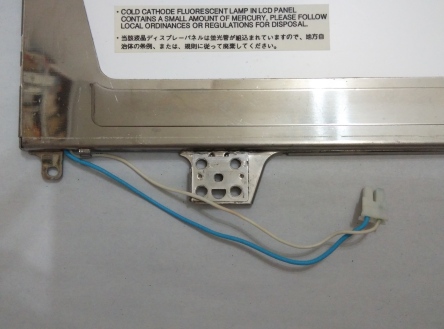
In this article, I am going to show you how to revive a dead laptop’s monitor into an external monitor. I had an old laptop which is Toshiba Satellite L100 model that is no longer in used. So, an idea came to my mind, why not reuse the laptop LCD as a second monitor for the laptop I am using currently. In my opinion, a self made monitor is way cooler than buying a new one, so I decided to give it a shot.
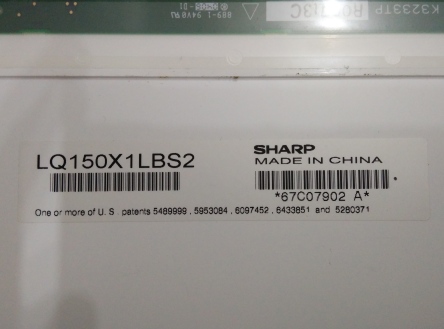
What are the parts needed to reuse a laptop LCD independently? You will need a controller board for your monitor. Each laptop’s monitor has a specific controller board. Thus, the first step before you get your controller board is to take apart the LCD and identify the model number.
The model for my monitor is Sharp LQ150X1LBS2.
After identifying the model number of the monitor, I order a controller board from ebay seller, e-qstore. Throughout my research to reuse an old laptop LCD, a lot of users suggested e-qstore to purchase the controller board as it is reliable. Based on e-qstore ebay page, they displayed quite a number of customer photo showing a working LCD.
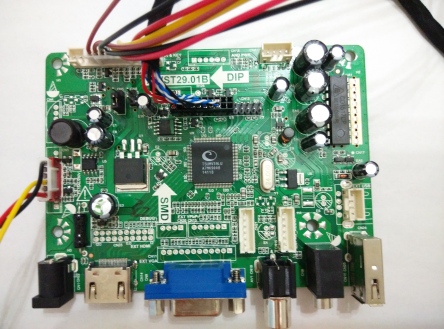
The next step I took was to send a picture of the back of LCD with the model number. They need the model number to prepare the required controller board and firmware for the LCD. I got the reply from e-qstore quite fast after sending the model number to them and they suggested this controller board for me.
Well, I ordered the controller board as soon as I got the reply from e-qstore. I can’t wait to test the LCD and make a second monitor for my existing laptop. The controller board cost me $38.18 (approx RM 133.63) and also free shipping. It took around one month to travel from Shenzhen, China to Malaysia. Besides that, the seller also provide tracking number for the shipment.
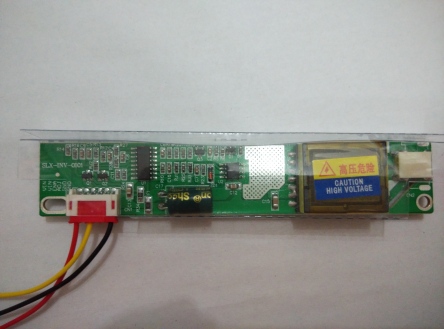
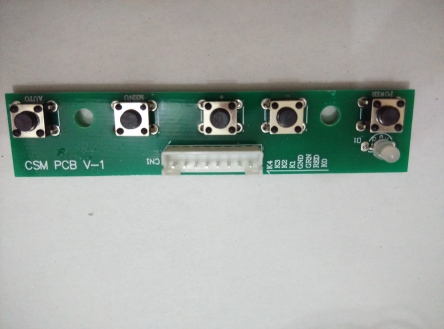
Inside the parcel received, there are three PCBs which consists of the controller board, inverter and keypad. A documentation is provided by the seller as requested. I wanted to understand more about the controller board, but too bad most of the details are written in Chinese. (I can read Chinese but I just couldn’t understand the technical terms in Chinese.) This is the documentation provided.
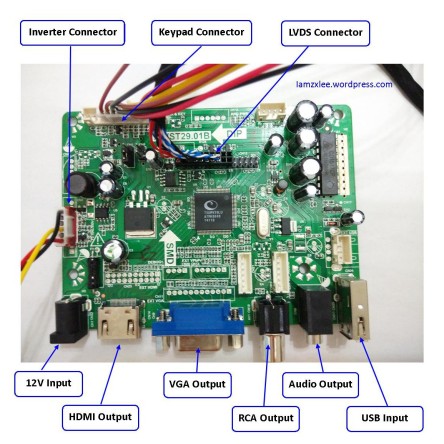
There are several output ports available from the controller board such as VGA port, HDMI port, RCA jack, and audio out. Besides that, there is a USB input based on my understanding from the documentation.
To setup the controller board with the LCD, I followed the instructions provided by e-qstore.

Instructions
Besides a controller board, the seller also suggested a 12V, 4A adapter for the controller board. However, I only have a 12V, 1A adapter, so why not try it out and see if the LCD works or not? After power up the controller board, I was so excited to see the monitor works. But, out of my expectation, the LCD works with a dark display without the backlight. I am worried if I damaged either the controller board or the LCD.
After searching through the internet results, from here, I tried to understand how the backlight of LCD works and found out that I forgot to connect the LCD to the inverter. The LCD inverter is responsible to convert the DC into AC which is required to power up the cathode fluorescent lamp in LCD panel. Be extra careful when handling with the inverter as AC is involved. Any accident with AC will cause electrocution. Also, becareful with the fluorescent lamp as it contains a small amount of mercury.
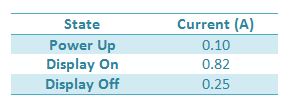
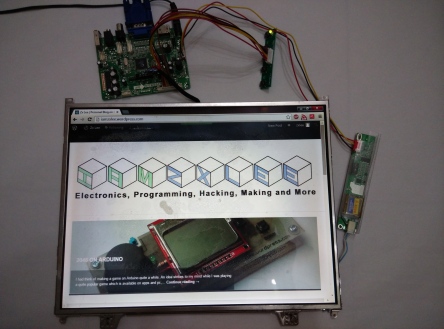
Finally, after everything was connected, the monitor works fine and I am able to extend my display onto this new monitor. However, I still need to confirm whether there is a need to use 12V, 4A adapter as suggested. Therefore, I tried to measure the current usage of the controller board. I measure the current in three different states which are power up, display on and display off.
I was quite happy with the results of current usage. On power up, the current drawn by the controller board is 0.1A. When the display is turned on, the current drawn is peak at 0.82A whereas when the display is turned off, only 0.25A is used. This results proved that it is sufficient to use a 12V, 1A adapter to supply the controller board. The seller suggested 12V, 4A probably is to support all range of LCD as their power consumption might be different.
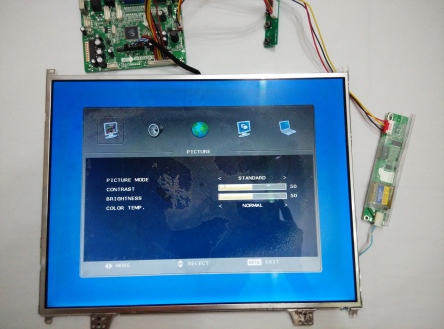
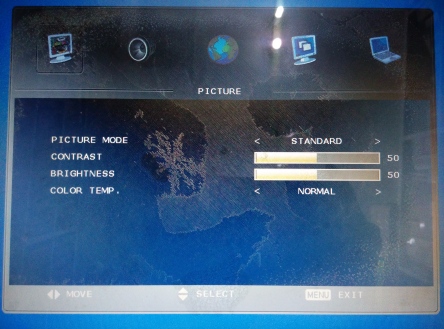
The firmware of the controller board provides a user interface for settings just like a normal monitor. After everything was setup correctly, I noticed that there are some defects on the monitor which are shown by the pictures below. This may cause by some shock on the monitor when after the laptop is no longer in used.
The defect doesn’t cause a lot of problems to me, at least it still able to display everything and it is not as serious as having black spots or horizontal/vertical lines on monitor. I am very satisfied with my new monitor partly because it is uniquely made from an old laptop. Not to mention, the overall cost to revive this monitor is only around RM134 for the controller board. The cost of LCD and power adapter is not considered as I was reusing some old parts that I have.
For this amount of money spent and hack onto an old laptop, I can have a 15″ XGA TFT display, a nice experience of hacking a laptop and making a monitor and also more understanding on the monitor operation, that’s worth it. The improvement that I could make on this monitor is to add a frame and stand to display on my desk. Now I could make use of two monitors to work on different task or maybe one for entertainment, the other for work purpose or to constantly check on my blog perhaps. Good luck and have fun hacking.
