
After having borrowed my work’s CNC so many times, I figured it would be better if I bought one 🙂
Choosing the CNC you need
I occasionally need a CNC to machine slots in enclosures I buy. For example, Hammond manufacturing sells very neat boxes that will accommodate most of your projects. However, things may get tricky if you plan on using a display of any sort, as you’ll need to precisely drill the opening. Moreover, a CNC is also a good tool to produce PCB prototypes.
I don’t have a strong background in mechanics, which also influenced my decision to buy a CNC
What you need to look for when picking a CNC:
– the frame material: an aluminium frame will allow you to machine aluminium, which may not be true with a wooden one
– the community behind the machine (forum/mailing lists…) as they’ll be the ones answering your questions
– the attainable precision: you’ll need to define your needs to deduce what kind of precision you want
– the work space: how big are the pieces you want to make?
– if/how the spindle position is measured
The probotix fireball V90
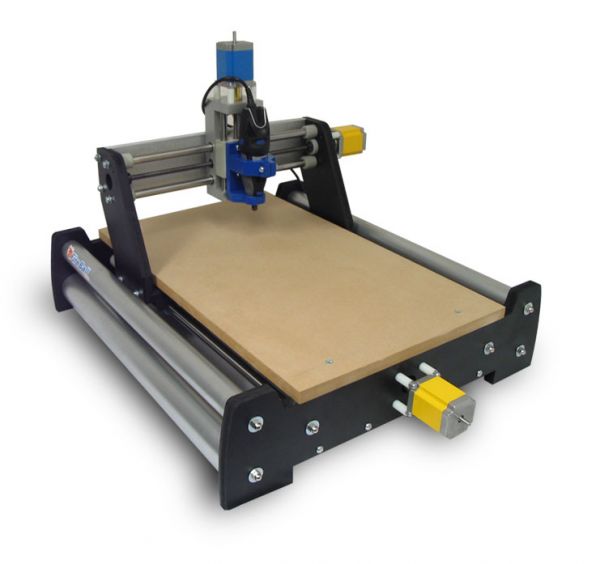
I chose the fireball V90 for two main reasons: the low price and the community. I deeply regret my choice now (continue reading for the details). Anyway, as I live in Europe, the guys in the US were kind enough to offer me a rebate. The machine is sold as a kit and it is up to you to assemble it (assembly instructions here). The spoil board is ‘fixed’ while the gantry moves in the X&Y directions.
The frame is made of MDF wood so rigidity is not the best. It uses Oilite bearings which is essentially a porous metal filled with oil sliding on rails. For information, medium to high-end CNC machines use linear bearings which are much more reliable in the long term. All in all, this means that I’ll often need to tighten the machine and oil its rails.
The assembly was quite easy even if there were a few bad surprises that I’ll detail later. I chose the following options: 3 axis probostep motor/driver kit, anti-backlash drive nuts, pbx-usb control board, t-slot table, cnc-usb control software. The latter is very intuitive to use and I quickly got used to it. I don’t remember why I didn’t go for the free EMC2 though. I bought a wolfgang engineering spindle, which is very light and is supposed to turn at 20k rpm. However, the belts that drive the spindle dry and break after a few months (I’m still waiting an answer from the seller on the matter). Luckily, these belts can be found for very cheap here as they basically are o-rings.
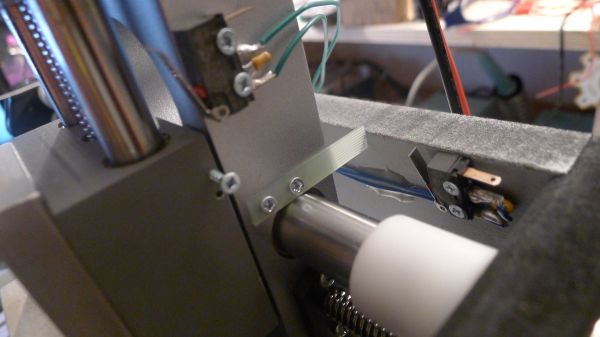
What surprised me is that the white plastic bits supporting the rails aren’t precisely positioned (the mounting hole is quite bigger than the shaft). Therefore, I chose to move the CNC gantry to the X/Y limits and then tighten them. X/Y/Z limit switches are not included in the kit so you’ll need to build something like this:
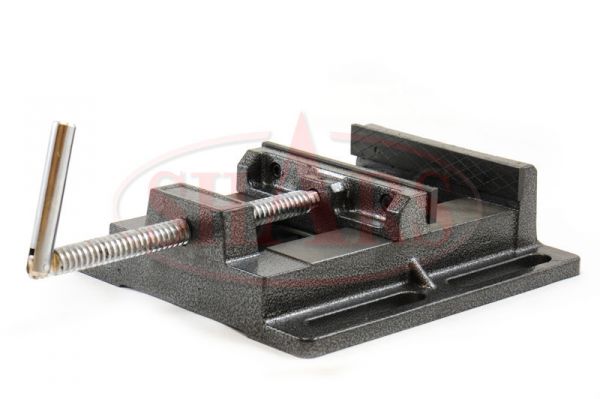
To hold the pieces I want on the machine, I bought a cheap vice on ebay (search for shars vise):
As for the endmills, I found this seller’s store to be very resourceful. The fireball V90 uses stepper motors. For those who don’t know, a stepper motor (or step motor) is a brushless DC electric motor that divides a full rotation into a number of equal steps. The motor’s position can then be commanded to move and hold at one of these steps without any feedback sensor. Therefore, there is no absolute spindle position sensor on the CNC. The resolution you have depends on the motor’s number of steps and on the leadscrew pitch.
Probotix support
This truly was a patience tester. When I looked for more details about the fireball V90, I found this website which was detailing all the assembly steps but also mentioning that probotix support was good. This was not my experience at all.
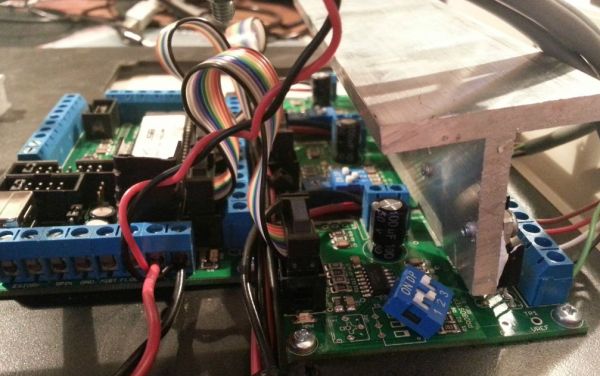
When I received my order, I was unlucky enough to see that my control electronics enclosure was damaged:
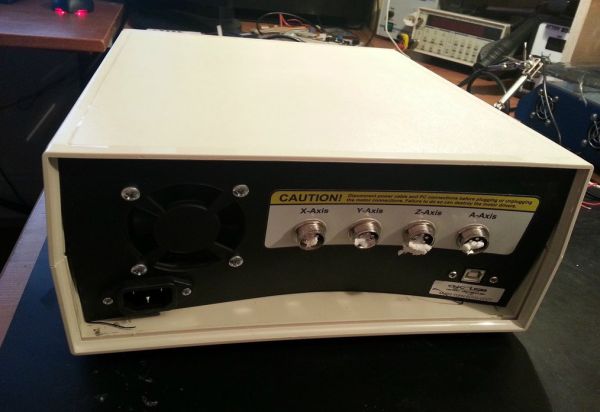
Somehow the panel was pushed, which resulted in a few components behind torn off:
Oddly enough, one aluminium piece which is supposed to fit in the t-slot table groves was not machined correctly (see how the hole is smaller than the screw?):

From there, here is the list of events that happened (the same list from Probotix’s side can be found here):
– August 5: damage signaled to probotix
– August 5: probotix informs me that they will start an insurance claim with the transporter (UPS)
– August 8: probotix informs me that there are no news from UPS
– August 9: probotix informs me that UPS will contact me regarding the claim
– August 9: I ask probotix if they’ll only send me the replacement parts if the insurance claim succeeds
– August 10: probotix informs me they’ll send me replacement parts even if the claim doesn’t succeed.
– August 16: probotix informs me that UPS will contact me a few days later
– August 19: UPS contacts me to set a meeting date to check the package state
– August 22: UPS comes and takes pictures of the package
– August 26: I ask probotix for news, they inform me there are none
– August 28: Probotix informs me that the claim has been denied and that they’ll send replacement parts to me once they’re sure I can keep the package I received
– August 31: I query probotix for news, emphasizing that it had been already three weeks since I received the order
– September 3: Probotix tells me the claim has been overturned and is now approved.
– September 3: An UPS agent comes to my house and took other pictures of the package.
– September 3: Tired of waiting, I casually mention I’m a writer for Hackaday and ask why they had to wait for UPS’ decision to send me replacement parts
– September 3: Probotix informs me that the replacements parts have just been shipped. As for why they hadn’t sent the replacement parts yet, they write: “we were waiting to ship out the replacement parts because we wanted to make sure that UPS wasn’t going to take your entire order since we are only shipping the replacement parts for what was damaged”
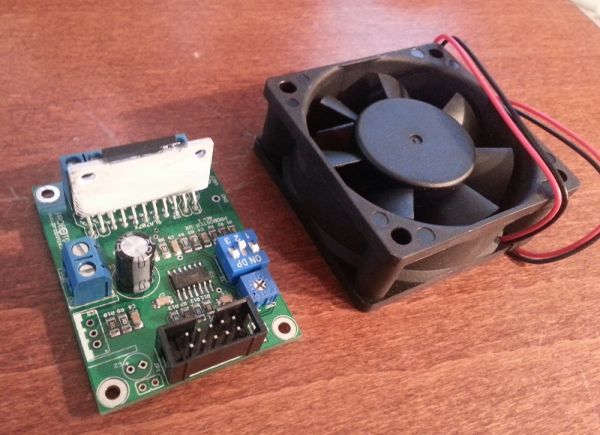
– September 15: After 40 days, I finally receive the two replacements parts:
However, another problem came up when assembling the t-slot table:
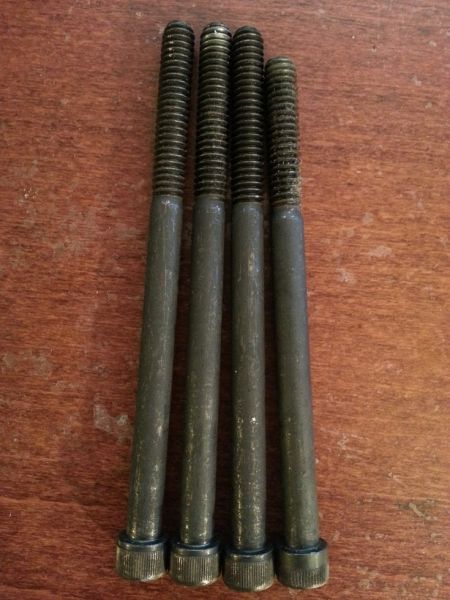
One of the four screws was shorter than the others, making it impossible for me to correctly assemble the spoil board. I contacted once again probotix, that shipped the replacement part a few days later. I’d gladly have bought another screw myself if it hadn’t been a non-metric one.
And the nightmare continues…
Shortly after having machined a few parts, I noticed a play in the z-axis assembly:
The answer from Probotix: “We discovered some variances in the bushing sizes and we are looking for a resolution currently. We will probably send you out a new Z-axis.”.
Which makes me wonder if there’s any testing before shipping out orders? So 10 days later, they sent me a new z axis assembly….
Just kill me already
One month after having discovered that there was a problem with my original z-axis assembly, I received my new one:
Ok now I’m pretty sure there definitely is no testing at Probotix. In the video I mention that the acme screw is bent, but there’s also a misalignment between the stepper axis and the screw.
I therefore contacted again Probotix, but after many emails and videos showing the problem, this was the conclusion from them: “I have reviewed the video link you sent and I just don’t see a problem.“. As long as I make the z axis stepper turn slowly to avoid any vibration, no problem….
And the solution was so simple
After a while I actually realized that my problems could be solved using this:
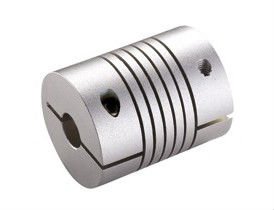
… which can be bought for $11 on ebay (shipping included). How come this was never suggested?
Conclusion
It took six month to get to the point where I can machine parts correctly, so I’ll let you imagine how frustrated I was. Still, I learned many things. While I was waiting, I therefore had plenty of time to make a soundproof box:
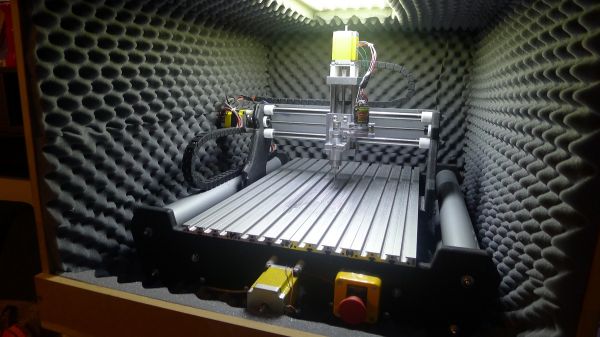
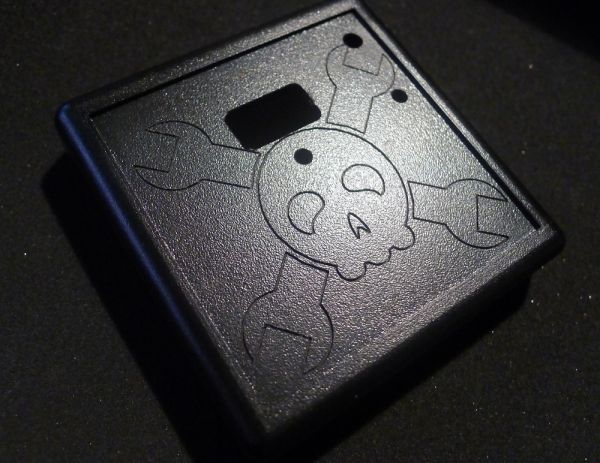
The box is made of two parts that can be easily lifted using handles. The foam that I used can be bought for around 6 euros per square meter. A led panel is attached on top and an acrylic glass is placed on the front. The machine is now very quiet, which allows me to use it whenever I want 🙂 . And here is a simple test I did:
If i had to do it all over again, I think I’d go with making my CNC machine myself. There are plently of people out there explaining the process, and this chinese seller ebay store have many things for it.
I also contacted the guys over at planet-cnc about the MK1 USB controller that Probotix uses. Here is what they told me about it:
I really recommend Mk2 controller. It works much better than Mk1. Mk1 is getting obsolete.
And when I told them about my misadventures:
I know what you mean about V90. There are better alternatives. I always say, that one buys/makes at least 3 CNCs. First one is useless but helps you learn about CNC. Second one is better but not balanced. Third one is right one.
Wise words indeed.


