
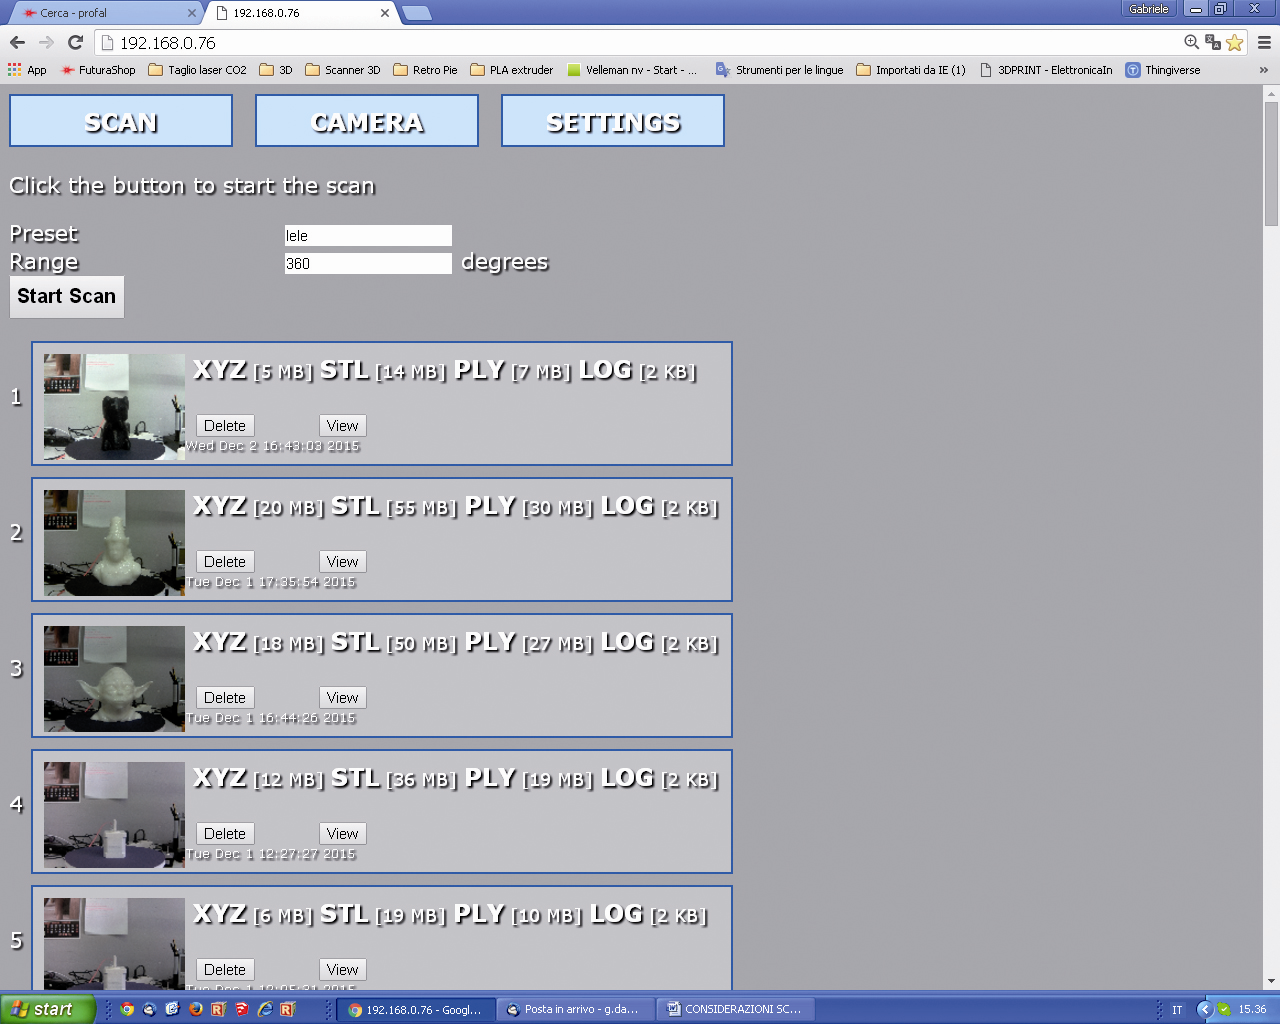
SCAN
In this section the scan is executed. By clicking on “Start Scan” from the SCAN menu the 3D scan of the object is started. The scan preview will appear on the monitor, as well as the file save in the desired format, the first one will be carried out with a resolution that is inferior to the one that will be set for the actual scan. If we approve the preview, we may start the download.
CAMERA
Here (first figure) the parameters of the video camera are set and the lasers are calibrated. By clicking on the “Test” button a sample acquisition is carried out, it allows to verify the collimation of the two laser lines (only on a plain surface, being orthogonal to the plane) and if the value for the “Laser Threshold” field is a correct one.

The line must prove to be as uniform as possible (not serrated and/or jagged). In figure you may see what happens when the value set for the Laser Threshold is too low;

Figure shows what happens when we set an excessively high one.

Finally, in follow figure you may see how the image will appear if the Laser Threshold value is a correct one. In the same section, by clicking on the “Calibrate Laser” button it is possible to access the laser calibration, that may be carried out only in the 5MP still or 5MP video modes.

Once the lasers have been calibrated, the small yellow and green crosses (they may be seen in the test) will overlap. If the lasers are not calibrated, the crosses will not appear as overlapping or they are only partially doing it.

As for the commands available in the calibration section:
- by clicking on the “Toggle Left Laser” button the left laser is activated/deactivated;
- by clicking on the “Toggle Right Laser” button the right laser is activated/deactivated;
- the “Disable Motor” button disables the motor that rotates the table and therefore it stops the rotation, if it is underway;
- the “Rotate” button starts the rotation of the rotating plate by an angle (measured in sexagesimal degrees) that is equal to the value we set in the next field.


